Window Server 2022/2025 Disk Size Increase
The Windows Server 2022 and 2025 place the Windows Recovery Partition at the end of the disk, so increasing the disk size on the "C" parition is a bit more challenging than on other versions of Windows.
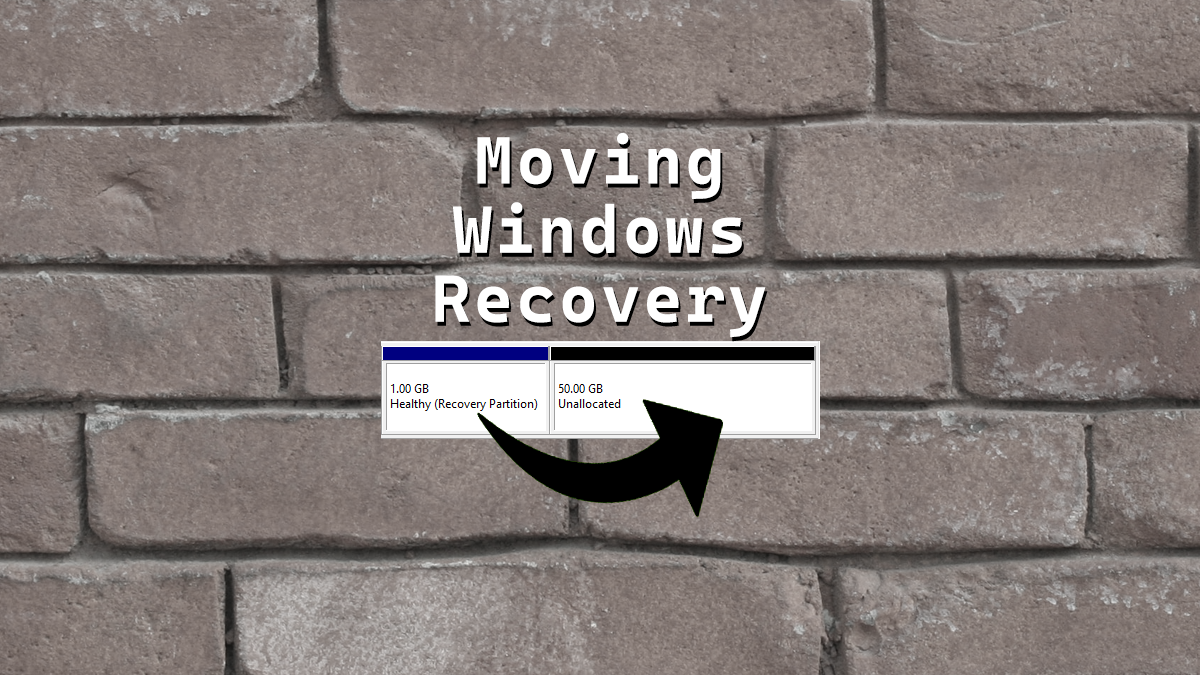
The next steps will disable the Windows Recovery Partition, remove it, expand the disk then recreate the Windows Recovery Partition.
Disabling the Partition
Open the Command Prompt as an administrator and run the below command:
reagentc /disableThe command will disable the recovery partition and will move the recovery partition into a file named "Winre.wim", located in "C:\Windows\System32\Recovery".
You have to enable showing hidden system files if you want to see it.
Removing the Partition
Then, open DiskPart by typing in Command Prompt:
diskpartOnce inside the DiskPart, list all the disks:
list diskNow it's time to select the disk number that has the recovery partition:
select disk #Note that the # is the disk number needing the recovery partition removed.
We are going to view the partitions using the command below:
list partitionOnce we have identified the parition number, we need to select it:
select partition #Note that the # is the parition number of the recovery partition.
Now, we are going to delete the partition forcefully. It is not removable without force:
delete partition overrideWe will still need diskpart, don't close the window yet.
Expanding the Disk
Using Disk Management (from Computer Management) -> Start -> Run -> compmgmt.msc, we are going to expand the disk, leaving 1024 MB at the end of the drive for recreating the recovery partition.
Create Recovery Partition
Still in Disk Management, create a New Simple Volume for recovery, NTFS type and don't assign any drive letters.
We are not done yet, we need to set the Windows Recovery Partition attributes.
Using diskpart, on the same disk, list the partitions again:
list partitionNow we are going to select the Recovery partition:
select partition #Note that the # is the parition number of the recovery partition.
Depending on the disk partition type (GPT or MBR) we have to set the correct ID.
GPT
Use this only if you have a GPT disk type. If you have MBR, go to the MBR section.
set id=de94bba4-06d1-4d40-a16a-bfd50179d6acWe also need to hide the drive and flag it as a required partition.
gpt attributes=0x8000000000000001Now we can close DiskPart.
exitMBR
If you have a MBR disk, we only need to set the ID. If you have GPT partition, use the commands in the GPT section.
set id=27Now we can close DiskPart.
exitEnabling the Recovering Partition
Still, from Command Prompt as an administrator, run the below command:
reagentc /enableThe command will copy the "Winre.wim" file from "C:\Windows\System32\Recovery" into the new recovery partition.
That is it. If you look into the Disk Management, the partition should be back.
Credit is due, so the source information from this article can be found here:


